How to Capture the Best Paragliding Photos


Understanding the Basics
Paragliding offers a thrilling experience and capturing these moments can be equally exhilarating. To get started, it's essential to understand the basics of photography. Familiarize yourself with your camera settings, focusing on shutter speed and aperture. A fast shutter speed is crucial for capturing clear images of a moving subject.
Additionally, consider using a camera with a high frame rate to capture multiple images in quick succession. This can help you select the best shot later on. Remember, preparation is key to capturing stunning paragliding photos.
Choosing the Right Equipment
While smartphones can take decent photos, investing in a good DSLR or mirrorless camera can significantly enhance the quality of your images. Opt for a lightweight camera body and a versatile lens, such as a 24-70mm, which allows for both wide-angle and close-up shots.
A wide-angle lens can capture the expansive landscapes and the vastness of the sky, making your photos more dramatic. Don't forget to bring extra batteries and memory cards, as paragliding sessions can be long, and you'll want to capture every moment.
Mastering Composition
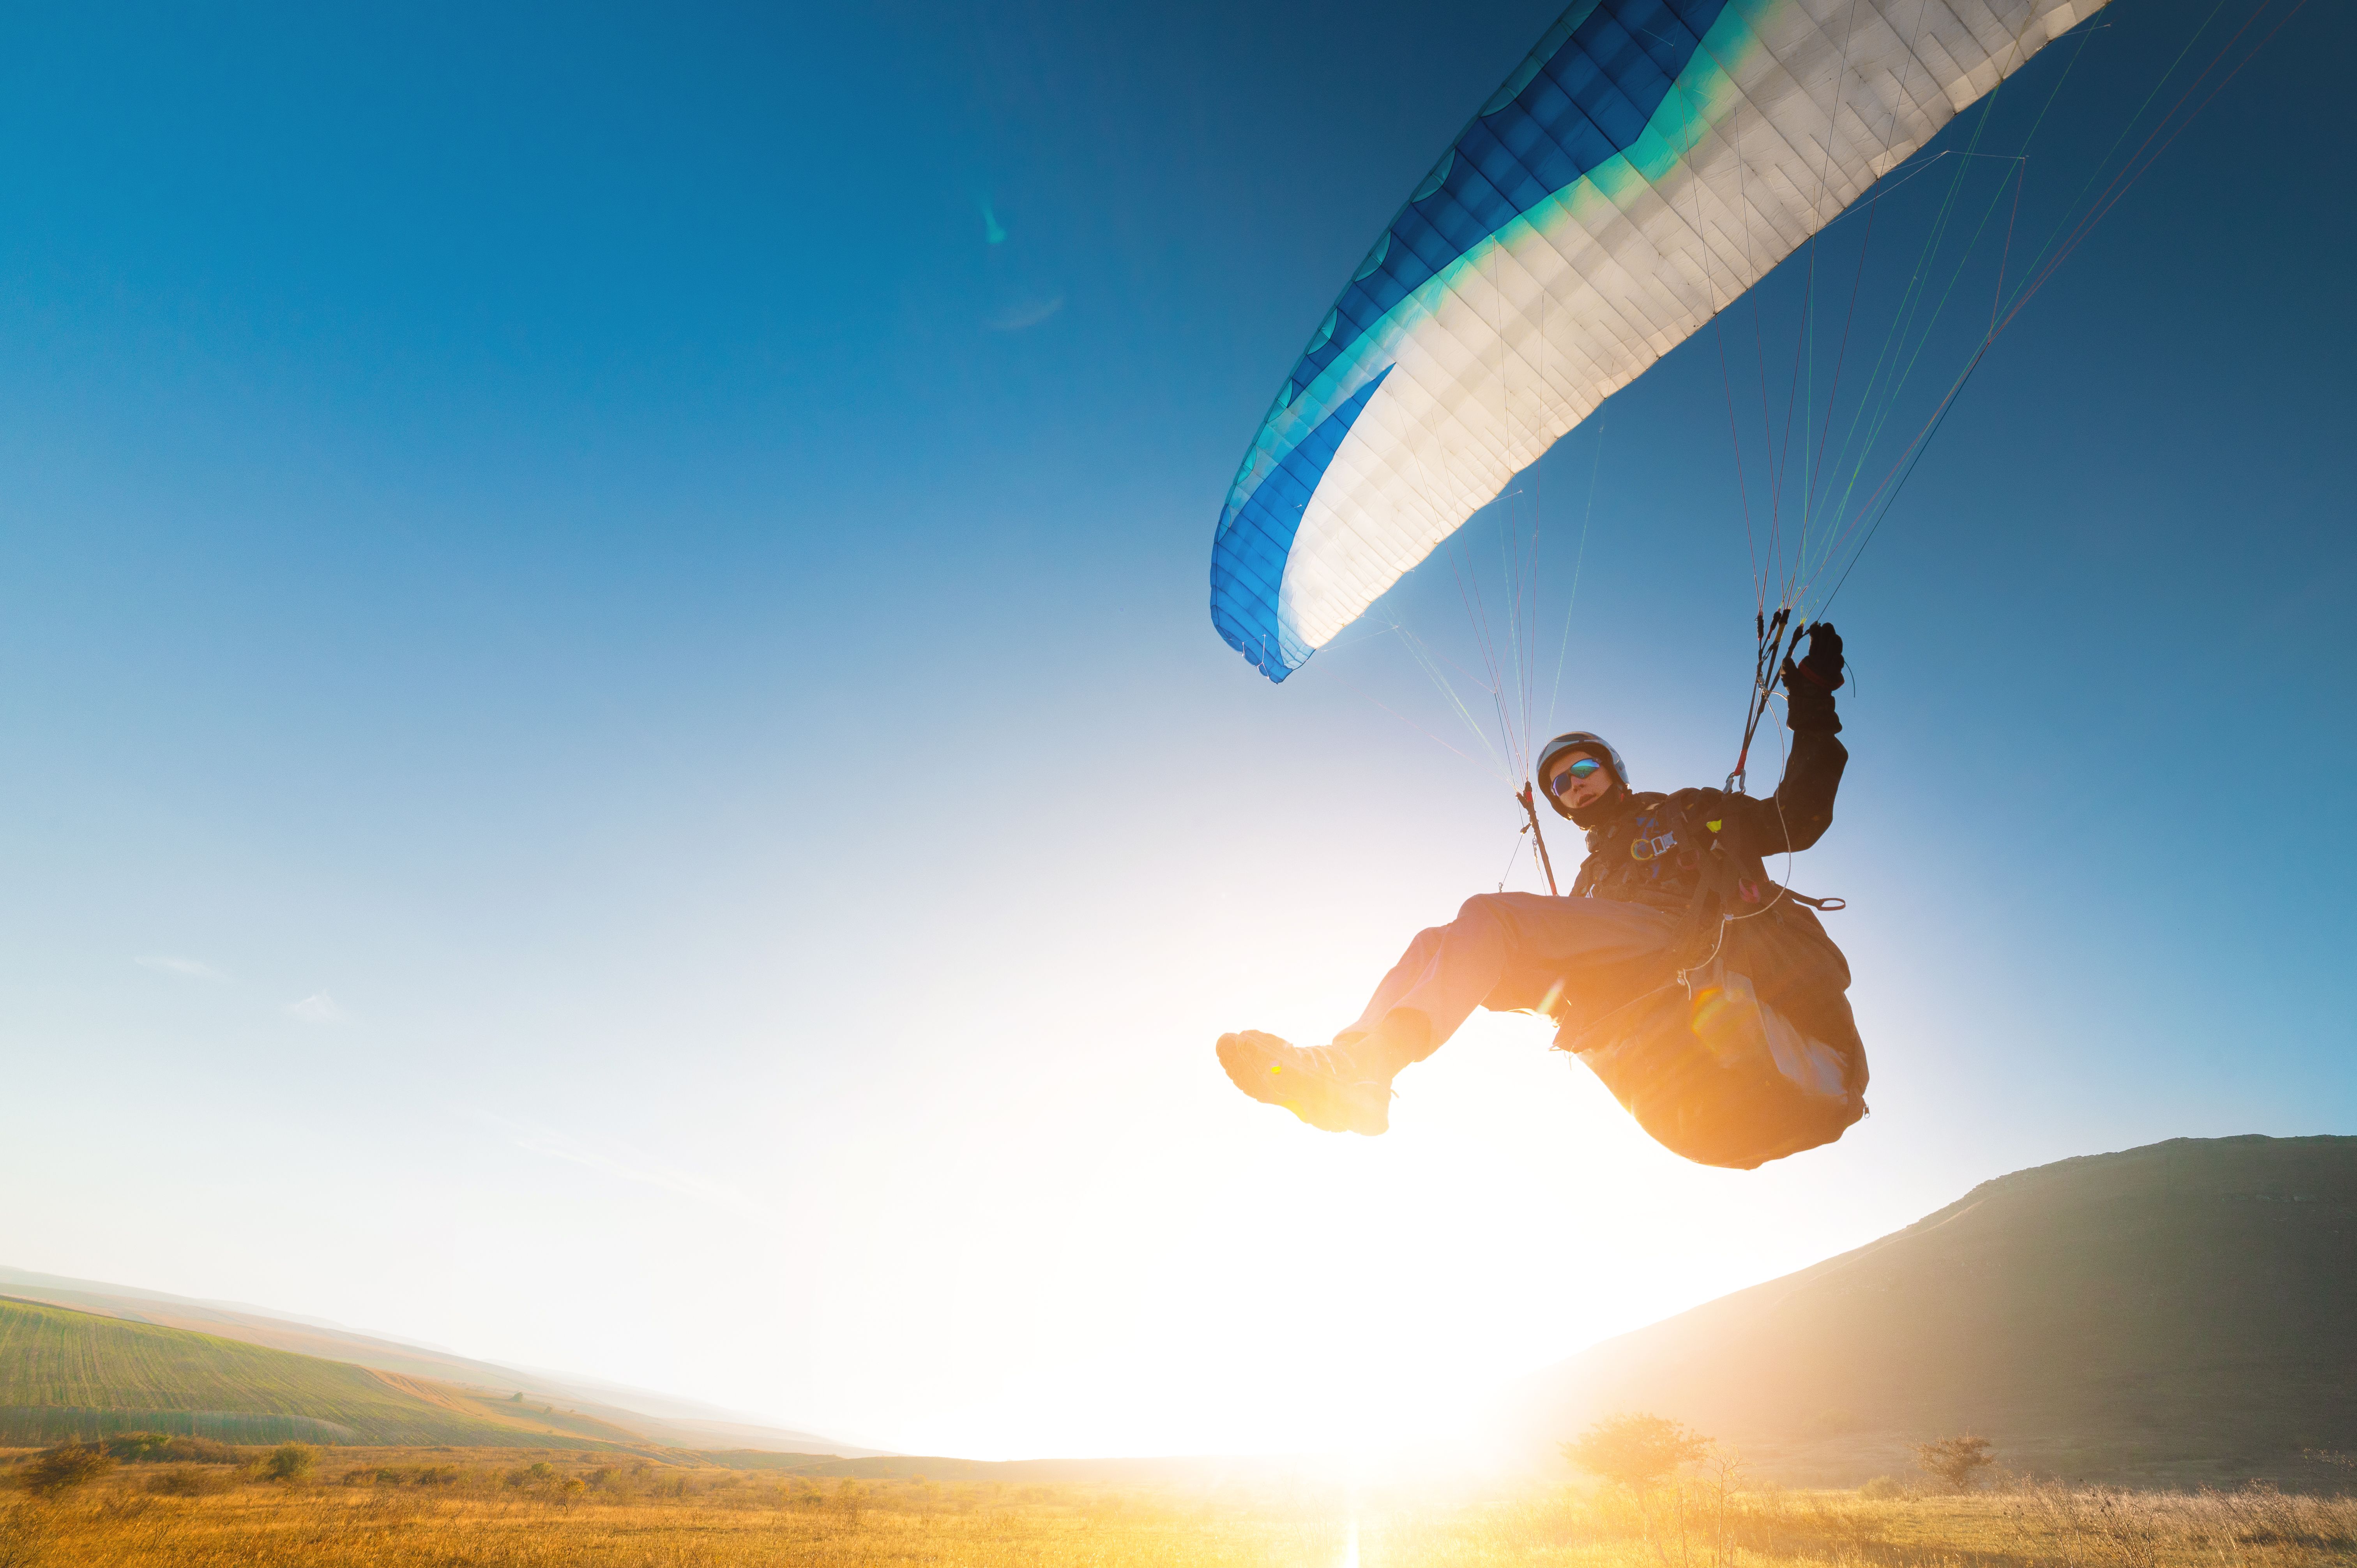
Composition plays a crucial role in photography. When capturing paragliding photos, use the rule of thirds to create a balanced image. This technique involves dividing the frame into nine equal parts and placing the subject along these lines or their intersections.
Experiment with different angles and perspectives. Try shooting from above to capture the paraglider against the landscape, or from below to emphasize the height and scale of the flight. Incorporating interesting foreground elements can also add depth to your photos.
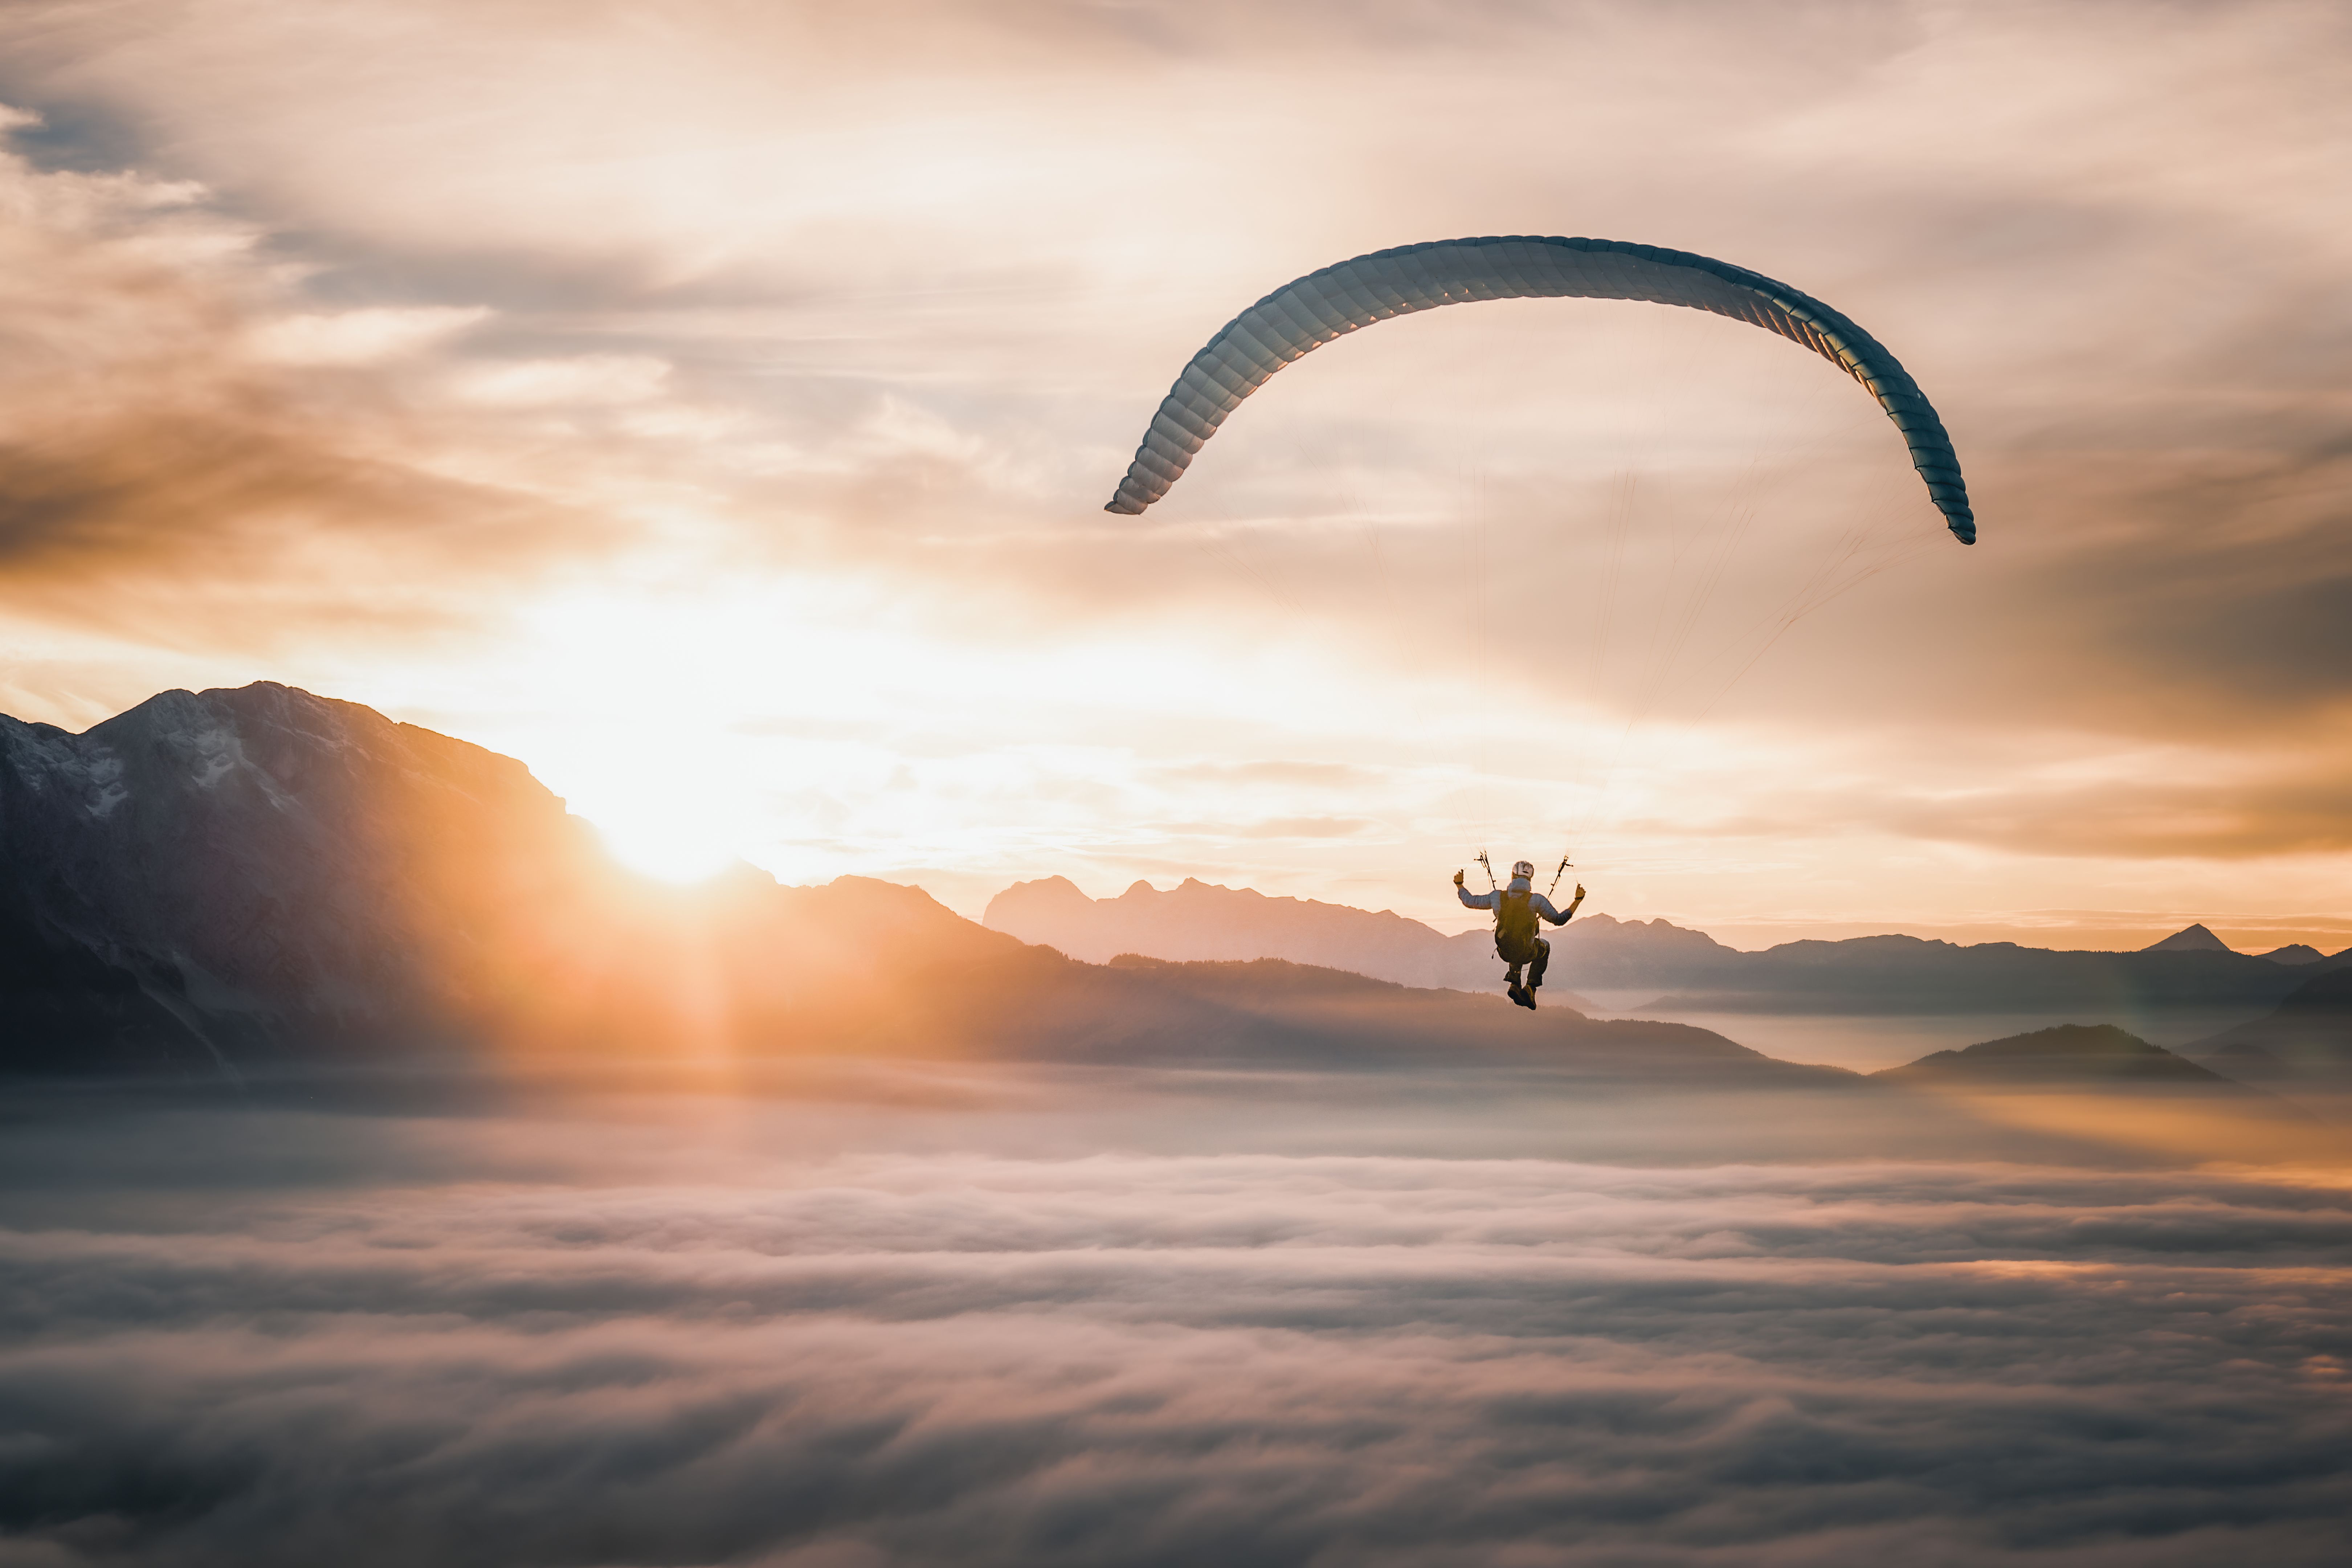
Timing and Lighting
Lighting can make or break a photograph. The best time to capture paragliding photos is during the golden hour, just after sunrise or before sunset. The soft, warm light during these times can add a magical touch to your images.
However, don't shy away from shooting at other times of the day. Overcast skies can provide even lighting, reducing harsh shadows, while midday sun can create dramatic contrasts. Adapt to the lighting conditions and use them to your advantage.
Post-Processing Tips
Post-processing is an essential step in enhancing your paragliding photos. Use software like Adobe Lightroom or Photoshop to adjust exposure, contrast, and colors. Pay attention to the horizon line and ensure it's straight for a polished look.
While editing, aim to enhance the natural beauty of your photos without overdoing it. Subtle adjustments can transform a good photo into a great one. Consider cropping to improve composition and remove any distracting elements.
Practice and Patience
Finally, practice and patience are vital in mastering paragliding photography. Take the time to learn from each session and don't be afraid to experiment with different settings and compositions.
Review your photos critically and identify areas for improvement. With dedication and persistence, you'll soon be capturing breathtaking paragliding photos that tell a story of adventure and freedom.